Raspberry Pi Kubernetes Cluster

I got my cluster running! Finally, I am doing stuff on my local machines again. I have many computers but use three Raspberry Pi cm4 modules on a Super6c board. It really feels nice.
I used k3sup to get everything up and going, making it easy. It was literally as simple as:
export SERVER_IP=xxx.xxx.xxx.xxx # IP Address of `super6c-node-1`
export AGENT_1_IP=xxx.xxx.xxx.xxx # IP of node 2
export AGENT_2_IP=xxx.xxx.xxx.xxx # IP of node 3
export USER=kglitchy
# Add the primary node
k3sup install \
--ip $SERVER_IP \
--user $USER \
--ssh-key ~/.ssh/id_ed25519 \
--local-path ~/.kube/config \
--merge
# Add the secondary nodes
k3sup join --ip $AGENT_1_IP --server-ip $SERVER_IP --user $USER --ssh-key ~/.ssh/id_ed25519
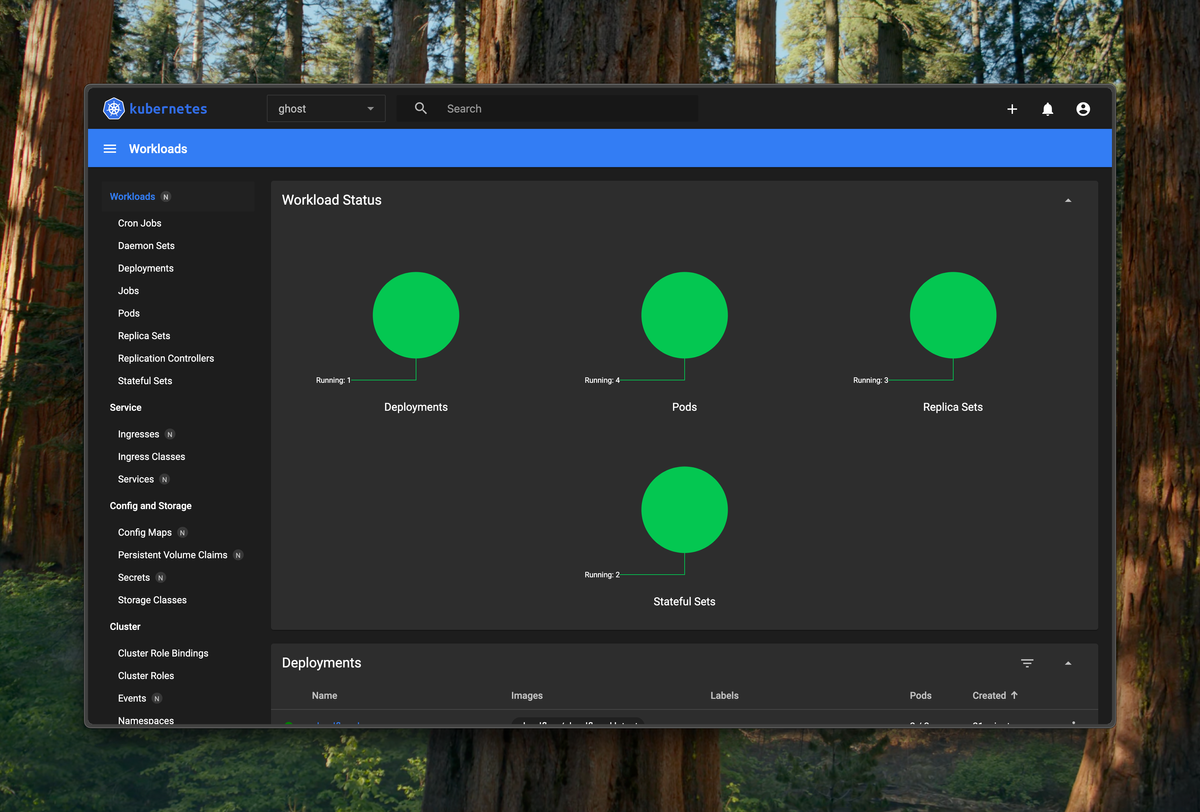
k3sup join --ip $AGENT_2_IP --server-ip $SERVER_IP --user $USER --ssh-key ~/.ssh/id_ed25519One issue I had was that I needed to enable memory cgroups by setting cgroup_memory=1 cgroup_enable=memory in /boot/firmware/cmdline.txt. I also had to install open-iscsi it to ensure that Longhorn (my storage system) would work. Then, I could connect and get started using kubectl get nodes, which showed that all my nodes were connected and ready.
One thing I have been doing (when publishing to the internet) is using Cloudflare Tunnel (cloudflared). I followed the tutorial here: https://developers.cloudflare.com/cloudflare-one/tutorials/many-cfd-one-tunnel/. I started by using Claude and Kustomize to generate the manifests for Ghost based on the official docs, and then I added Cloudflare support using the tutorial above.
It basically involved:
- Configuring the tunnel
- Uploading the tunnel secret to k8s
- Deploying
cloudflaredusing a manifest like the one below
---
apiVersion: apps/v1
kind: Deployment
metadata:
  name: cloudflared
  namespace: ghost
spec:
  selector:
    matchLabels:
      app: cloudflared
  replicas: 2 # You could also consider elastic scaling for this deployment
  template:
    metadata:
      labels:
        app: cloudflared
    spec:
      containers:
      - name: cloudflared
        image: cloudflare/cloudflared:latest
        args:
        - tunnel
        # Points cloudflared to the config file, which configures what
        # cloudflared will actually do. This file is created by a ConfigMap
        # below.
        - --config
        - /etc/cloudflared/config/config.yaml
        - run
        livenessProbe:
          httpGet:
            # Cloudflared has a /ready endpoint which returns 200 if and only if
            # it has an active connection to the edge.
            path: /ready
            port: 2000
          failureThreshold: 1
          initialDelaySeconds: 10
          periodSeconds: 10
        volumeMounts:
        - name: config
          mountPath: /etc/cloudflared/config
          readOnly: true
        # Each tunnel has an associated "credentials file" which authorizes machines
        # to run the tunnel. cloudflared will read this file from its local filesystem,
        # and it'll be stored in a k8s secret.
        - name: creds
          mountPath: /etc/cloudflared/creds
          readOnly: true
      volumes:
      - name: creds
        secret:
          # By default, the credentials file will be created under ~/.cloudflared/<tunnel ID>.json
          # when you run `cloudflared tunnel create`. You can move it into a secret by using:
          # ```sh
          # kubectl create secret generic tunnel-credentials \
          # --from-file=credentials.json=/Users/yourusername/.cloudflared/<tunnel ID>.json
          # ```
          secretName: tunnel-credentials
      # Create a config.yaml file from the ConfigMap below.
      - name: config
        configMap:
          name: cloudflared
          items:
          - key: config.yaml
            path: config.yaml
---
# This ConfigMap is just a way to define the cloudflared config.yaml file in k8s.
# It's useful to define it in k8s, rather than as a stand-alone .yaml file, because
# this lets you use various k8s templating solutions (e.g. Helm charts) to
# parameterize your config, instead of just using string literals.
apiVersion: v1
kind: ConfigMap
metadata:
  name: cloudflared
  namespace: ghost
data:
  config.yaml: |
    # Name of the tunnel you want to run
    tunnel: ghost-tunnel
    credentials-file: /etc/cloudflared/creds/credentials.json
    # Serves the metrics server under /metrics and the readiness server under /ready
    metrics: 0.0.0.0:2000
    # Autoupdates applied in a k8s pod will be lost when the pod is removed or restarted, so
    # autoupdate doesn't make sense in Kubernetes. However, outside of Kubernetes, we strongly
    # recommend using autoupdate.
    no-autoupdate: true
    # The `ingress` block tells cloudflared which local service to route incoming
    # requests to. For more about ingress rules, see
    # https://developers.cloudflare.com/cloudflare-one/connections/connect-apps/configuration/ingress
    #
    # Remember, these rules route traffic from cloudflared to a local service. To route traffic
    # from the internet to cloudflared, run `cloudflared tunnel route dns <tunnel> <hostname>`.
    # E.g. `cloudflared tunnel route dns example-tunnel tunnel.example.com`.
    ingress:
    # The first rule proxies traffic to the httpbin sample Service defined in app.yaml
    - hostname: blog.mulliken.net
      service: http://ghost.ghost.svc.cluster.local
    # This rule sends traffic to the built-in hello-world HTTP server. This can help debug connectivity
    # issues. If hello.example.com resolves and tunnel.example.com does not, then the problem is
    # in the connection from cloudflared to your local service, not from the internet to cloudflared.
    # - hostname: hello.example.com
    #   service: hello_world
    # This rule matches any traffic which didn't match a previous rule, and responds with HTTP 404.
    - service: http_status:404

